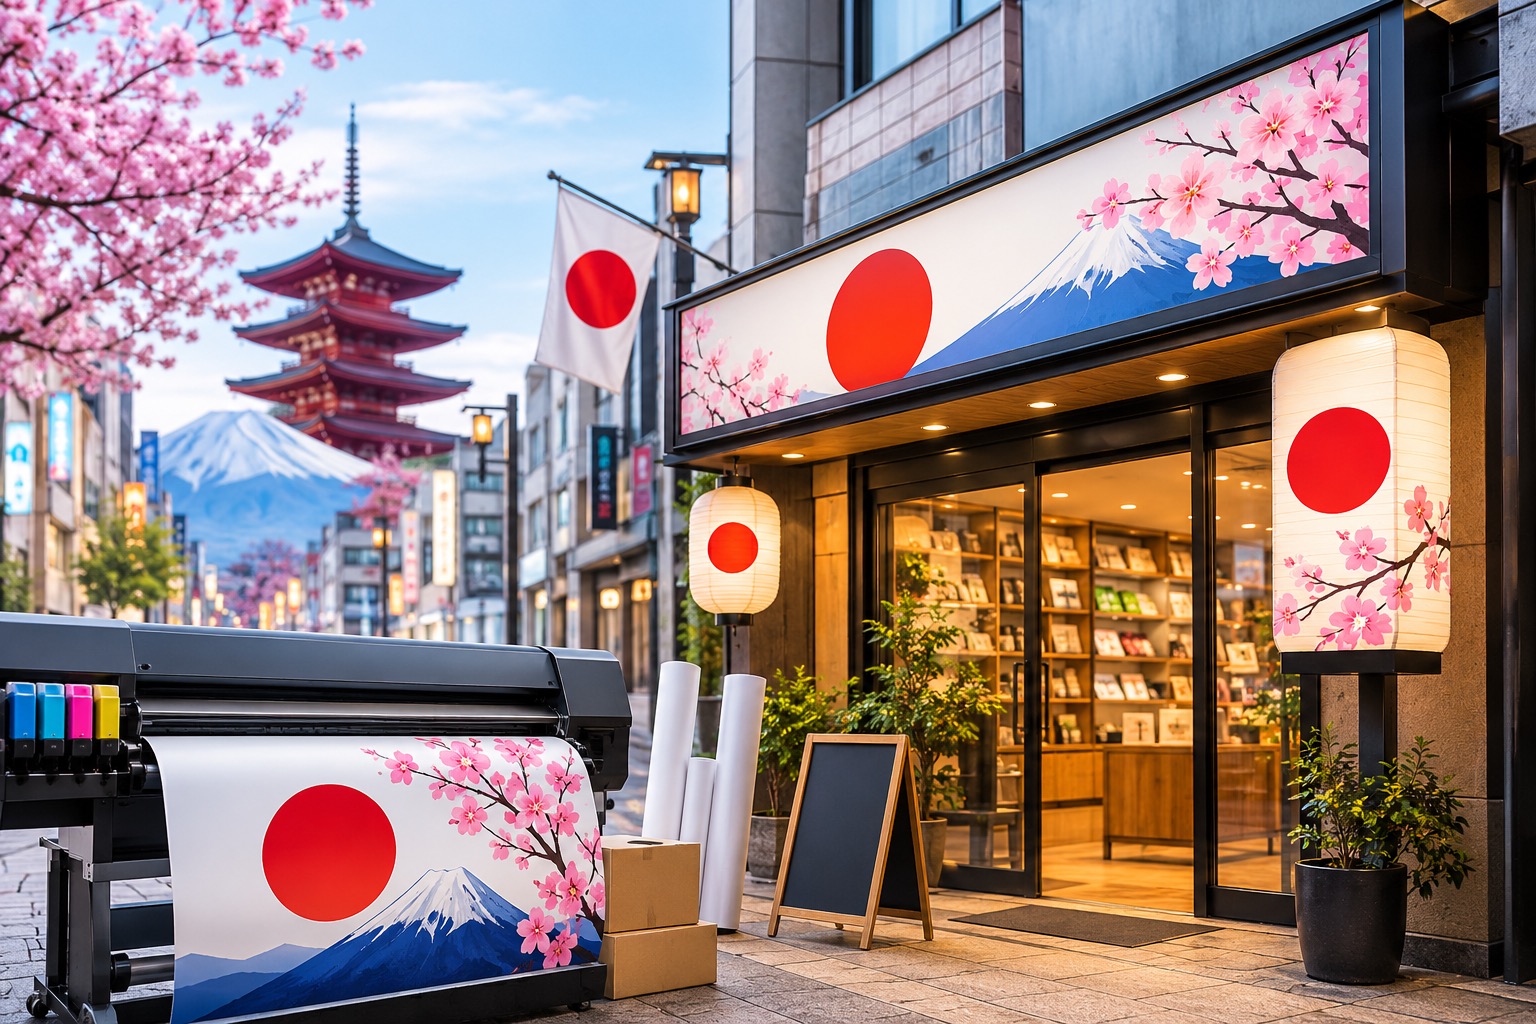
Opening a retail store in Japan is thrilling — and then you get to signage, and things get complicated fast. Local ordinances you've never heard of, printing conventions that don't match what you're used to back home, and Japanese text that absolutely cannot have a typo in it. It's one of the most overlooked parts of opening a business here, and one of the easiest to get wrong.
This guide walks you through the process step by step, from understanding the rules to getting your sign installed and looking sharp on day one.
Step 1: Learn the Rules Before You Design Anything
Japan regulates outdoor signage more closely than many countries. Most municipalities have their own outdoor advertising ordinance (屋外広告物条例), which sits underneath the national Landscape Act (景観法). These rules can govern sign size, height, brightness, placement, and even color, and they vary significantly from one ward or city to the next.
If your storefront is in a historic district, a scenic area, or near a train station with its own design guidelines, expect tighter restrictions — sometimes down to which colors are allowed. Before you finalize any design, it's worth a quick call or visit to your local ward or city office to ask what applies to your address specifically. Your landlord or building management may also have their own rules on top of the municipal ones, especially in shared commercial buildings.
Step 2: Decide What Kind of Sign You Actually Need
"Signage" covers a lot of ground in Japan, and most stores end up using more than one type:
- Kanban (看板) — the main fixed storefront sign, usually mounted above or beside the entrance
- Tachikan (立看板) — a freestanding stand sign placed on the sidewalk
- Nobori (のぼり) — the narrow vertical flag banners you see outside restaurants and shops (promo flags are perfect for this)
- Awning signage — printed or painted directly onto a storefront awning
- Window decals — vinyl graphics applied to glass, great for hours, promotions, or branding
- Illuminated or LED signage — backlit panels or light boxes for visibility at night
- A-frame sandwich boards — portable, flexible, and easy to update
Most retail businesses combine a primary kanban with one or two secondary pieces, like a nobori flag or window decals, to build visibility without overwhelming the storefront.
Step 3: Get Your Japanese Text Right
This is where a lot of foreign-owned storefronts stumble. Running sign copy through machine translation and printing it as-is is a common — and very visible — mistake. Japanese customers notice awkward phrasing immediately, and it can undercut the trust you're trying to build.
A few things worth getting right:
- Have your Japanese text checked by a native speaker before it goes to print, not after
- Decide whether your layout will run horizontally (yokogaki) or vertically (tategaki) — this affects font choice and how much space you need
- Consider furigana above harder kanji if your store serves a broad customer base, including tourists or those less confident reading kanji
- Keep bilingual signs balanced — Japanese usually takes visual priority, with English as a secondary line rather than an equal-sized duplicate
If you need bilingual design support, Print Japan offers restaurant menu printing and business card printing with native Japanese speaker proofing as standard.
Step 4: Pick Materials That Survive Japan's Climate
Japan is hard on outdoor signage: humid summers, UV exposure, and a typhoon season that tests anything mounted outside. Material choice matters as much as design.
- Vinyl banners are affordable and fine for shorter-term use, but fade and wear faster
- Aluminum composite panels are durable and weather-resistant — a common choice for primary kanban signs
- Acrylic gives a clean, premium look and works well for illuminated signage
- UV-resistant coatings and laminates extend the life of any printed sign exposed to direct sunlight
If your sign faces south or gets direct sun most of the day, it's worth paying more upfront for UV-resistant materials. Replacing a faded sign after eight months costs more in the long run than doing it right the first time.
For more on materials, see our paper finishes guide.
Step 5: Measure, Quote, and Compare
Once you know what you need and what's allowed, get accurate measurements of your storefront — width, height, mounting points, and any obstructions like pipes or electrical boxes. Share these with a few printers and request itemized quotes.
Ask specifically whether installation is included or billed separately, and what the lead time looks like from proof approval to finished installation. Large-format and illuminated signage often take longer than expected, especially when custom fabrication is involved.
Step 6: Confirm Permits and Sign-Offs
Depending on your sign type and location, you may need approval before installation:
- Municipal permit for signs above a certain size or in regulated areas — check with your local ward office
- Landlord or building management approval, particularly for anything mounted to a shared facade
- Fire department consultation for illuminated or electrical signage in some jurisdictions
Getting sign-off before printing, not after, saves you from redesigning — and reprinting — something that doesn't pass inspection.
Step 7: Proofread Before It's Printed
Once your design is finalized, request a full digital proof and check it carefully: kanji, katakana, phone numbers, business hours, everything. A single misprinted character on a sign visible to every passerby is a hard mistake to undo. If your brand has specific colors, confirm them against a Pantone or CMYK reference rather than trusting how they look on a screen, since colors can shift noticeably in print.
Step 8: Printing and Production
With an approved proof, permits sorted, and materials chosen, production typically takes anywhere from a few days for simple vinyl pieces to a few weeks for custom illuminated signage. Build in buffer time, especially if you're working toward an opening date — signage is easy to leave until last, and then it becomes the bottleneck.
Step 9: Installation Day
Larger or elevated signage should be installed by professionals, both for safety and to make sure it's mounted to code. Weather can also affect installation scheduling for anything outdoors, so build some flexibility into your timeline rather than locking in the day before a grand opening.
Step 10: Keep It Looking Good
Once it's up, a little maintenance goes a long way:
- Clean signage periodically to keep colors and visibility sharp
- Watch for UV fading, especially on south-facing installations, and plan to refresh printed elements every couple of years
- Inspect mounting hardware after typhoon season
Common Mistakes to Avoid
- Designing before checking local regulations
- Using machine-translated Japanese without a native check
- Choosing budget materials for a sign that faces direct sun year-round
- Skipping permit checks for illuminated or oversized signage
- Leaving signage until the last few weeks before opening
What You'll Need Beyond Signage
Opening a store in Japan means more than just a sign. Check our foreign entrepreneur print checklist for a complete list of everything you'll need in your first 90 days — from business cards to leaflets and posters.
Final Thoughts
Signage is often the first impression your business makes — before a single customer walks through the door. Getting the regulations, language, materials, and timeline right from the start means your storefront looks professional and compliant from day one, instead of needing a costly redo a few months in.
If you'd rather not navigate ward offices and material specs alone, Print Japan works with foreign business owners on exactly this kind of project — from bilingual design and native-speaker proofing to weatherproof printing and installation. Get in touch to talk through what your storefront needs.
Need to print in Japan?
Get an instant quote or message us on WhatsApp. Everything handled in English.